
There’s a kind of joy that comes with transforming a plain wall into something that feels truly yours. A bit of color, a pattern that matches your style, and suddenly the room has a new story. Custom wallpaper is one of the simplest ways to make that happen, but getting it right needs a little prep and care.
Step 1: Get the Wall Ready
Good wallpaper work starts with a clean wall. Wipe off the dust, marks, or anything greasy. You definitely don’t want uneven spots when the paper goes up. If the wall feels slightly rough, give it a quick sanding, it helps the wallpaper sit much better.
Once that’s done, let it dry completely. Even a bit of leftover dampness can ruin how the adhesive sets, and that’s the last thing you want. A smooth surface means your wallpaper will stay in place and look professionally finished.
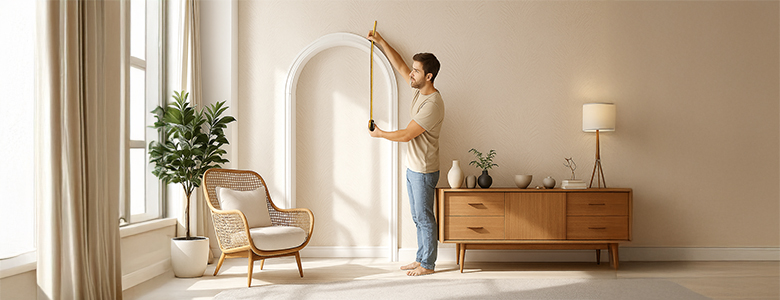
Step 2: Measure, Mark, and Plan
Before deciding onto anything, take a minute to plan. Use a level and a pencil to mark where the first strip will go. Think of it as drawing your starting line — it helps everything stay aligned later.
If your wallpaper has a repeating pattern, match it before cutting it. Trust us, fixing mismatched prints after it’s stuck is no fun. A small tip: start from a less noticeable corner. It gives you room to adjust as you move along.
Step 3: Stick It Smooth
Now comes the fun part. Start peeling the backing from the top — not all at once, just a bit. Press the top edge onto the wall and smooth downward with a soft cloth or brush. Work from the center outwards to push out any air bubbles.
See a bubble? Don’t be disappointed. Lift that part gently and smooth it again. Take your time – you’ll get into rhythm after the first strip or two.
When you reach sockets or windows, use a sharp cutter for trimming. A steady hand here makes a huge difference in how polished the wall looks.
Step 4: The Last Check
Once you’ve put up all the strips, take a step back and take a good look. If everything lines up and feels flat to the touch, you’re good to go. Now, let it rest for about a day, so the adhesive sets properly. Avoid wiping or pressing it during this time.
Keeping It Fresh
Wallpaper doesn’t need much to stay beautiful – just a bit of attention now and then.
Dust regularly. A dry microfiber cloth does the trick.
Handle stains carefully. For small marks, use a damp cloth (not wet) and wipe it gently.Check corners. These tend to peel first, especially in humid rooms. If that happens, just add a little wallpaper to adhesive underneath and press it back firmly.
Avoid harsh cleaners. No bleach or strong chemicals, they can fade the colors or damage the print.
Mind the moisture. Bathrooms and kitchens can get tricky. Make sure the space is well-ventilated so humidity doesn’t sneak under the paper.
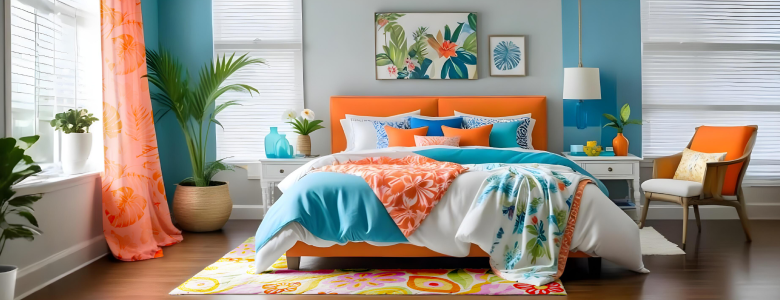
Color Tricks for Small Rooms
Now that your wall is ready, let’s talk about color because the right palette can completely reshape a space. If your goal is to make a small room look bigger with color, lighter tones are your best friend.
Try light color ideas for small rooms like whites, warm creams, or soft greys. These shades reflect light and instantly open space. Cool tones are also a favorite among designers. Cool tones for home décor such as sky blue, misty green, or pale sage can calm the atmosphere and make compact rooms feel breezy.
If you enjoy experimenting, go for color blocking small spaces — maybe one wall in soft beige and another in olive green. It adds depth and personality without overwhelming the room.
When designing your color palette for small apartments, you should aim for harmony. Mix pale walls with deeper flooring or darker décor accents. This strategic color used in interiors adds layers and makes the space feel thoughtfully styled.
Whether it’s subtle space-enhancing color schemes or bold patterns, the goal is the same, let your walls create the illusion of space while showing off your style.
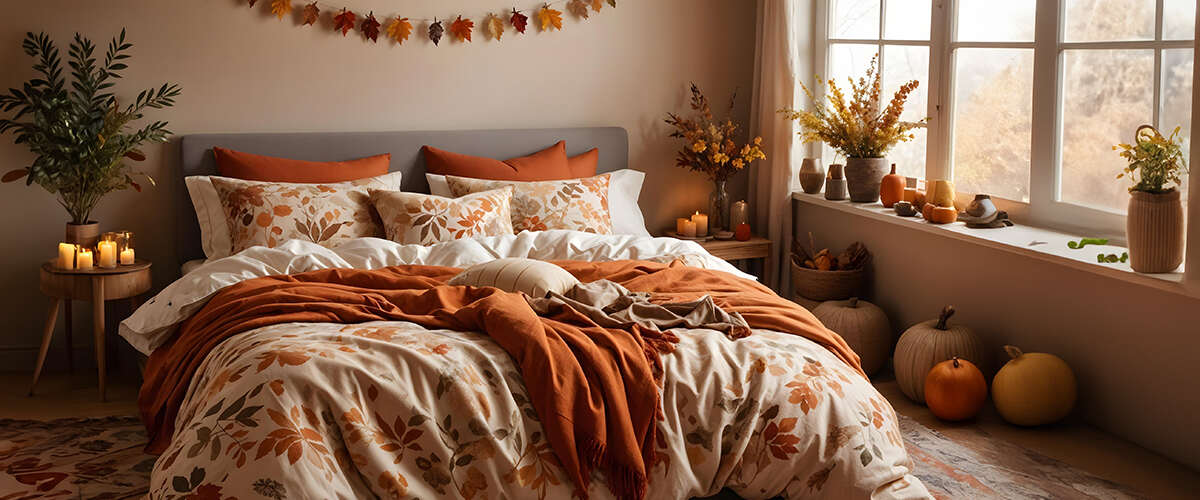
Styling Beyond the Walls

Your wallpaper sets the tone, but everything around it completes the story. Pair it with eco-friendly home décor, custom curtains, or sustainable wall art that mirrors your chosen colors. Custom rugs can anchor the look and tie the theme together beautifully.
These thoughtful layers make your décor feel cohesive, like every piece belongs exactly where it is.
Installing wallpaper is easier than it looks. With the right prep, patience, and a few careful moves, your wall will look professionally done. Caring for it later is simple – dust, wipe, and keep an eye on corners.
Before long, that once-plain wall won’t just blend into your room; it’ll become the part everyone notices first.
No Comments